
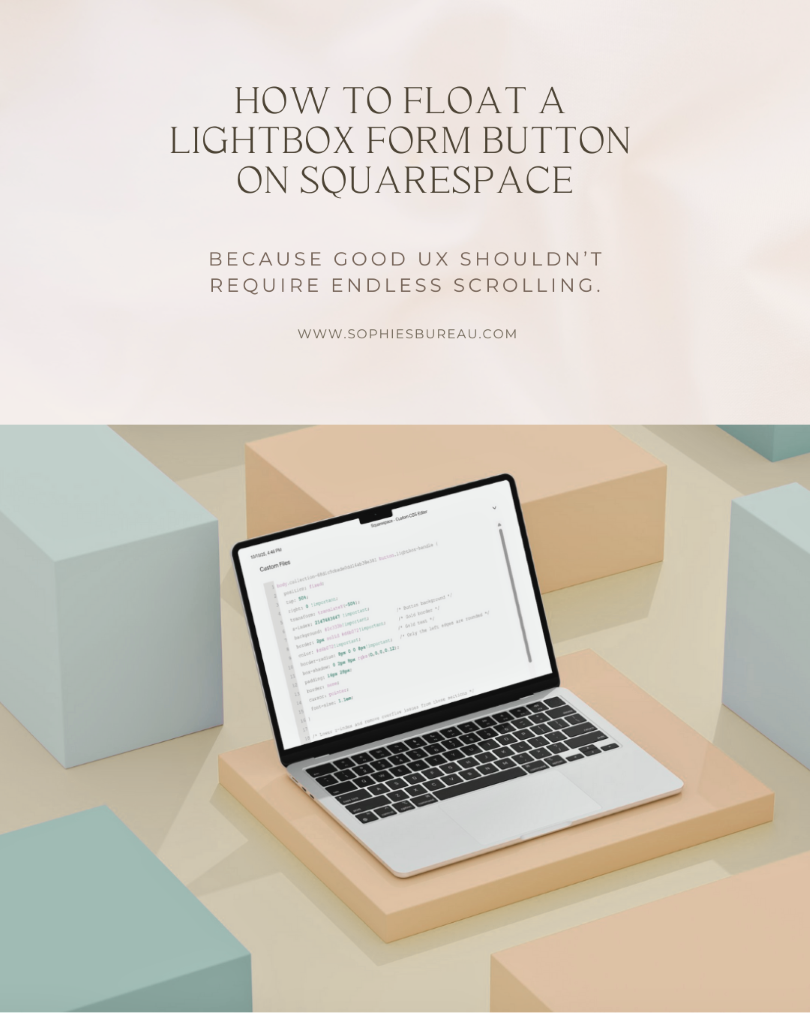
Little Wins, Big Calm: Effortlessly Float Your Lightbox Form Button in Squarespace
I love tech that quietly supports you and helps your site flow better for everyone. Sometimes, a tiny tweak makes a big difference, like keeping your “Contact” or “Enquire” button always visible for your visitors.
Here’s the simplest way to float your Squarespace lightbox form button, with easy tips to customise its position and style. No coding background required. You don’t need to add any extra class or settings, just use Squarespace’s built-in Lightbox form and copy and paste.
How to Float Your Button
Set up your Squarespace form with the Lightbox option.
Go to Design → Custom CSS.
Copy and paste the style code below:
The CSS Code:
button.lightbox-handle {
  position: fixed;              /* Makes it float on the page */
  top: 50%;                     /* Position halfway down vertically */
  right: 0;                     /* Flush with the right edge */
  transform: translateY(-50%);  /* Center it at "top: 50%" */
  z-index: 2147483647;          /* Stay on top of everything */
  background: #2c333b;          /* Dark blue/grey background */
  color: #d6b072;               /* Gold text */
  border: 2px solid #d6b072;    /* Gold border */
  border-right: none;           /* Flat right edge */
  border-radius: 8px 0 0 8px;   /* Curve only left side */
  box-shadow: 0 2px 8px rgba(0,0,0,0.12); /* Soft shadow */
  padding: 16px 28px;
  font-size: 1.1em;
  font-weight: bold;
  cursor: pointer;
  transition: box-shadow 0.2s, background 0.2s, color 0.2s;
}
button.lightbox-handle:hover {
  background: #23272c;          /* Slightly darker on hover */
  color: #fff;                  /* White text on hover */
  box-shadow: 0 4px 12px rgba(0,0,0,0.2);
}
/* Responsive styling for mobile screens */
@media(max-width: 600px) {
  button.lightbox-handle {
    padding: 14px 20px;
    font-size: 1em;
    right: 0;
    border-radius: 8px 0 0 8px;
  }
}
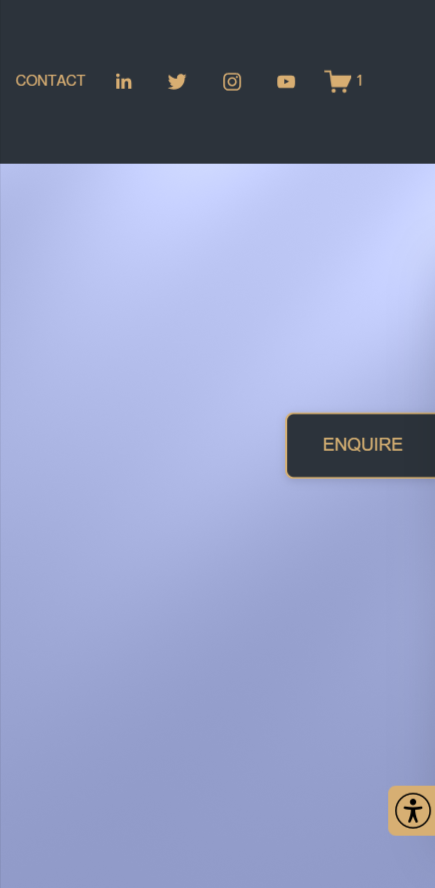
A simple, sticky Squarespace lightbox contact form button that stays put as you scroll.
Want to Customise? Here Are Some Quick Tips:
Put the button at the bottom right:
Change
top: 50%; transform: translateY(-50%);to
bottom: 20px; top: auto; transform: none;Make it less flush (float in from the edge):
Replace
right: 0;with
right: 30px;
Round all corners:
Change
border-radius: 8px 0 0 8px;to
border-radius: 8px;
Change button colors:
Update the
background: #2c333b; color: #d6b072; border: 2px solid #d6b072;lines to your own brand colors.
Style for just one page instead of all pages:
Use this template and swap YOUR_PAGE_ID for your page’s actual ID:
body.collection-YOUR_PAGE_ID button.lightbox-handle { /* All the same styles as above... */ }To find your page ID easily, I recommend the free Squarespace ID Finder browser extension.
Important Note for Editing Your Form Later:
If you want to edit the lightbox form content (like changing fields or button text) after adding the floating CSS, the fixed position can make the button hard to click or select in Squarespace’s site editor.
Quick workaround:
Open your Custom CSS and find the line that says:
position: fixed;Temporarily “comment out” that line so it’s ignored by the site (for example:
/* position: fixed; */).Save your changes.
Your button will return to its normal (non-floating) position so you can easily click and edit the form.When you’re done editing, remove the comment marks (
/*and*/) to restore the floating effect.
This way, you keep both effortless visitor experience and easy editing whenever you need it!
Calm Tech, Quiet Confidence
You now have a floating button that's always there for your visitors, the kind of small improvement that brings real ease to your site. Just copy, paste, tweak, and you're done.